Installation
Installing the Radon IDE extension
The marketplace in VSCode, Cursor, or Windsurf is the default way for you to obtain Radon IDE.
If you wish to build the extension from source in order to make modifications, head to the development instructions instead.
1. Installing the Radon IDE extension from marketplace
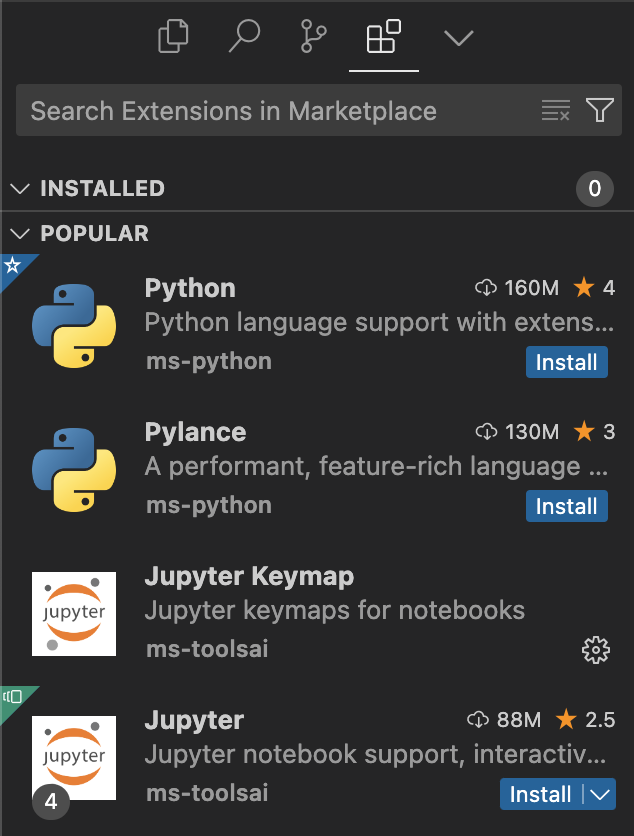
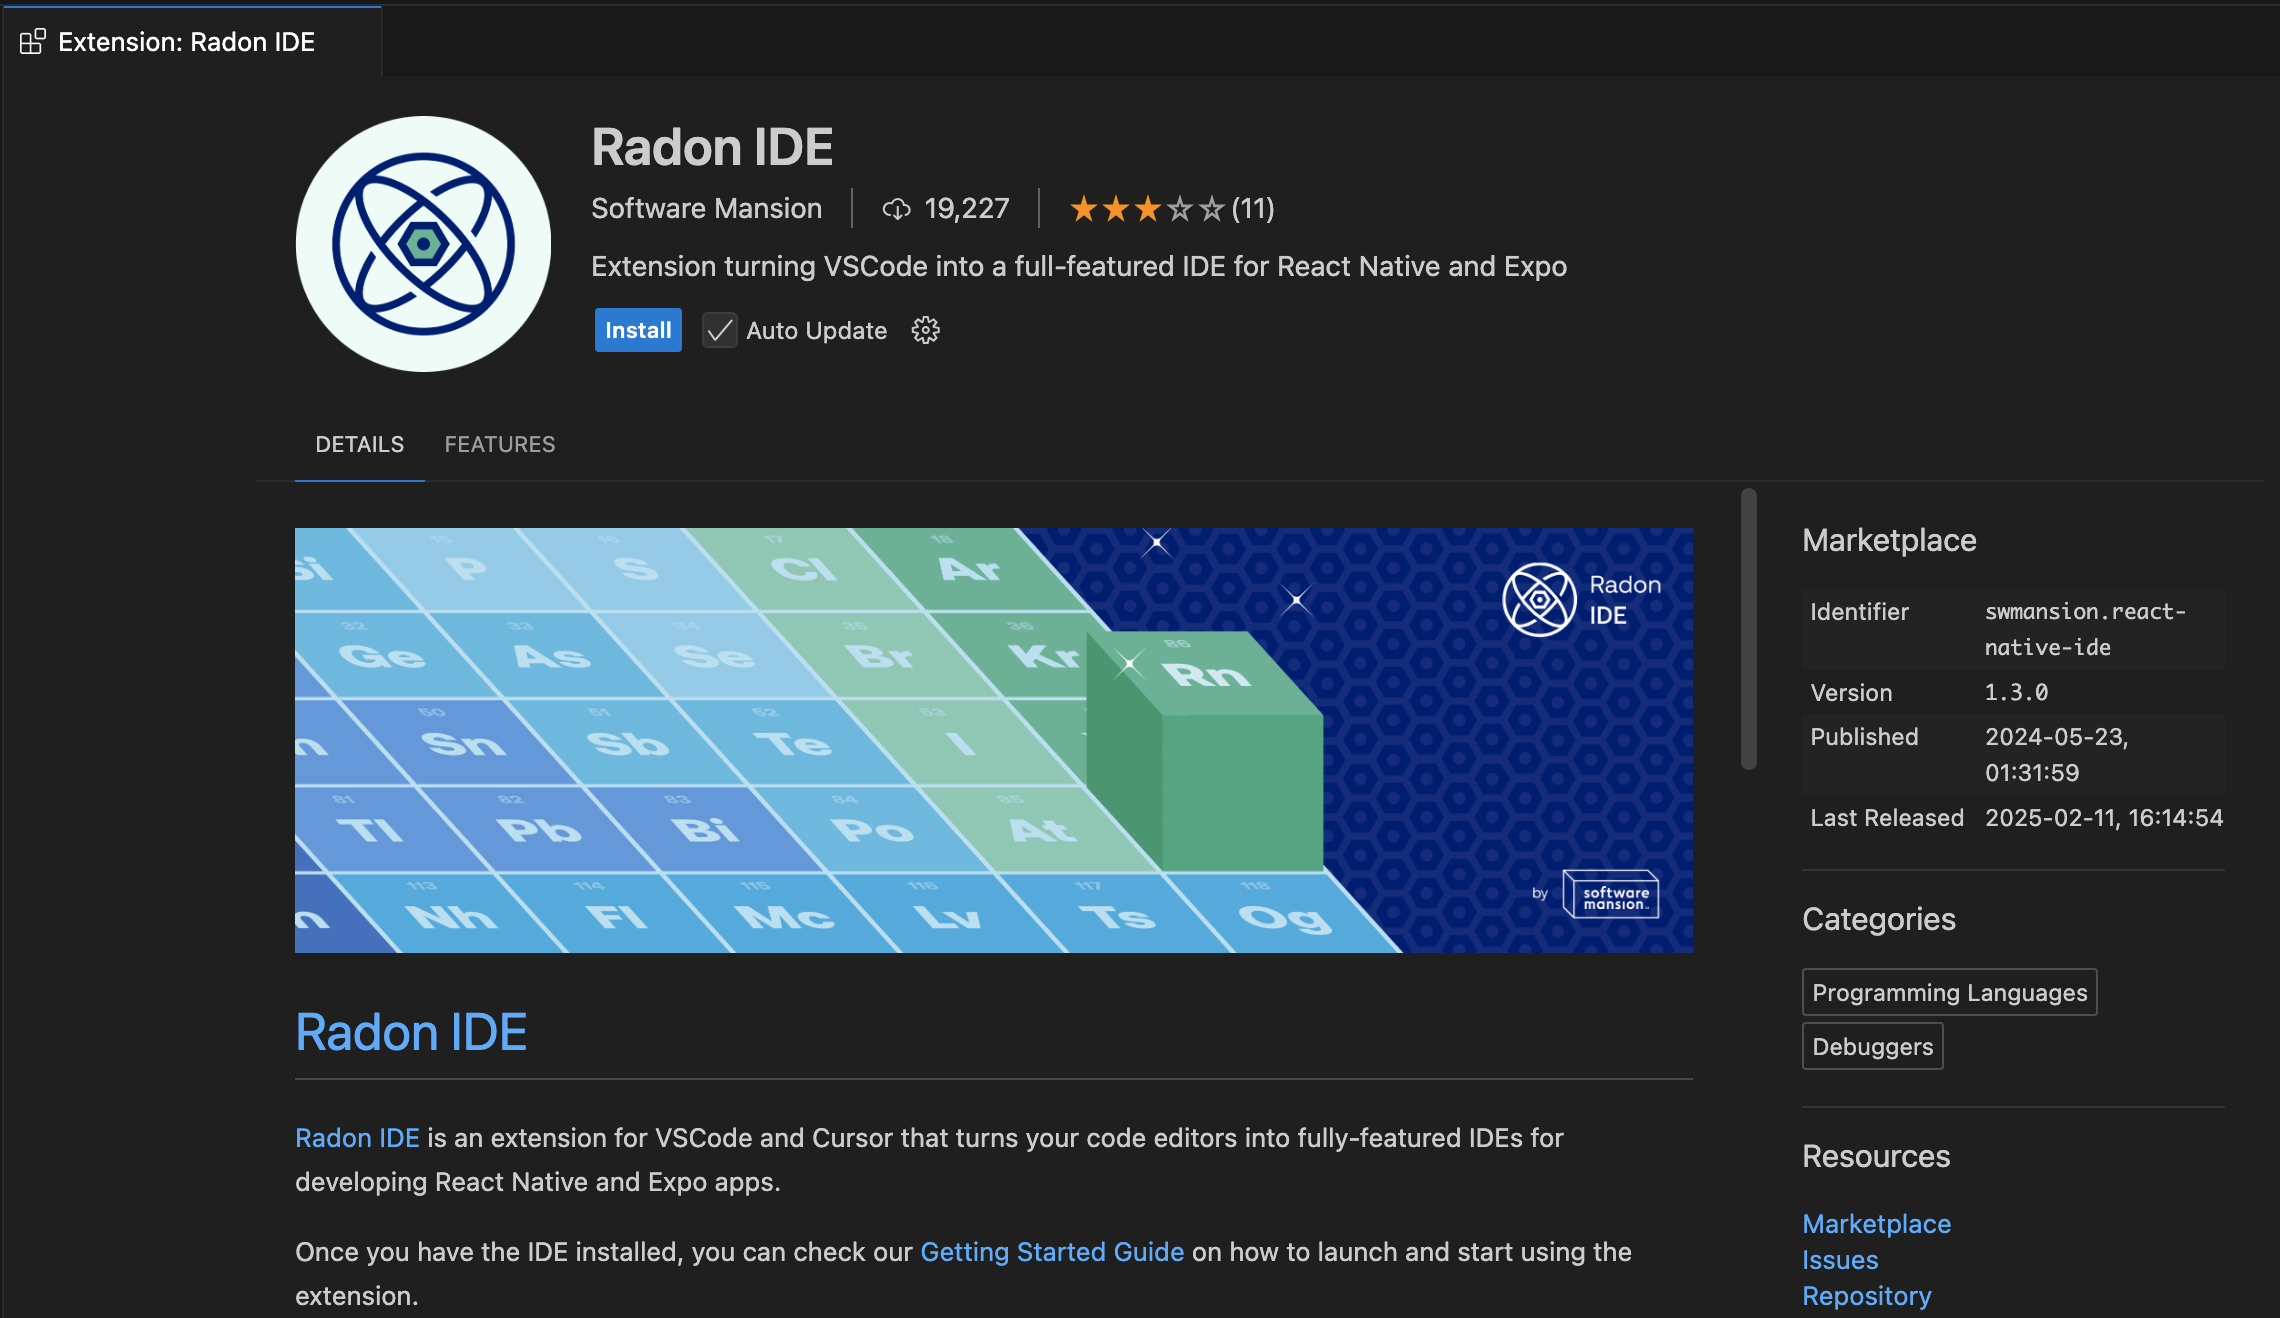
Search for Radon IDE on the extension page or use the following link depending on the editor you use:
Then click Install button to install the extension:
If you are using Cursor you may see an outdated version in the marketplace when installing Radon IDE.
This seems to be an issue with Cursor where the extension updates aren't getting propagated for up to two days after the update is published.
If you know there's a newer version that you want to use (you can check our releases page on GitHub), you can run "Extensions: Check for Extension Updates" command from the cmd+shift+p menu which should update Radon IDE to the latest version despite it not being listed in marketplace.
2. Manual installation from VSIX (for Windows/Linux)
Radon IDE doesn't provide official support for Windows and Linux installations. The extension may not work properly in these environments or work in limited capacity. Despite Linux and Windows builds not being published to the marketplace, we provide a VSIX package that can run on those platforms on the releases page. If you wish to use Radon IDE on Windows or Linux, you can do so under free Beta license.
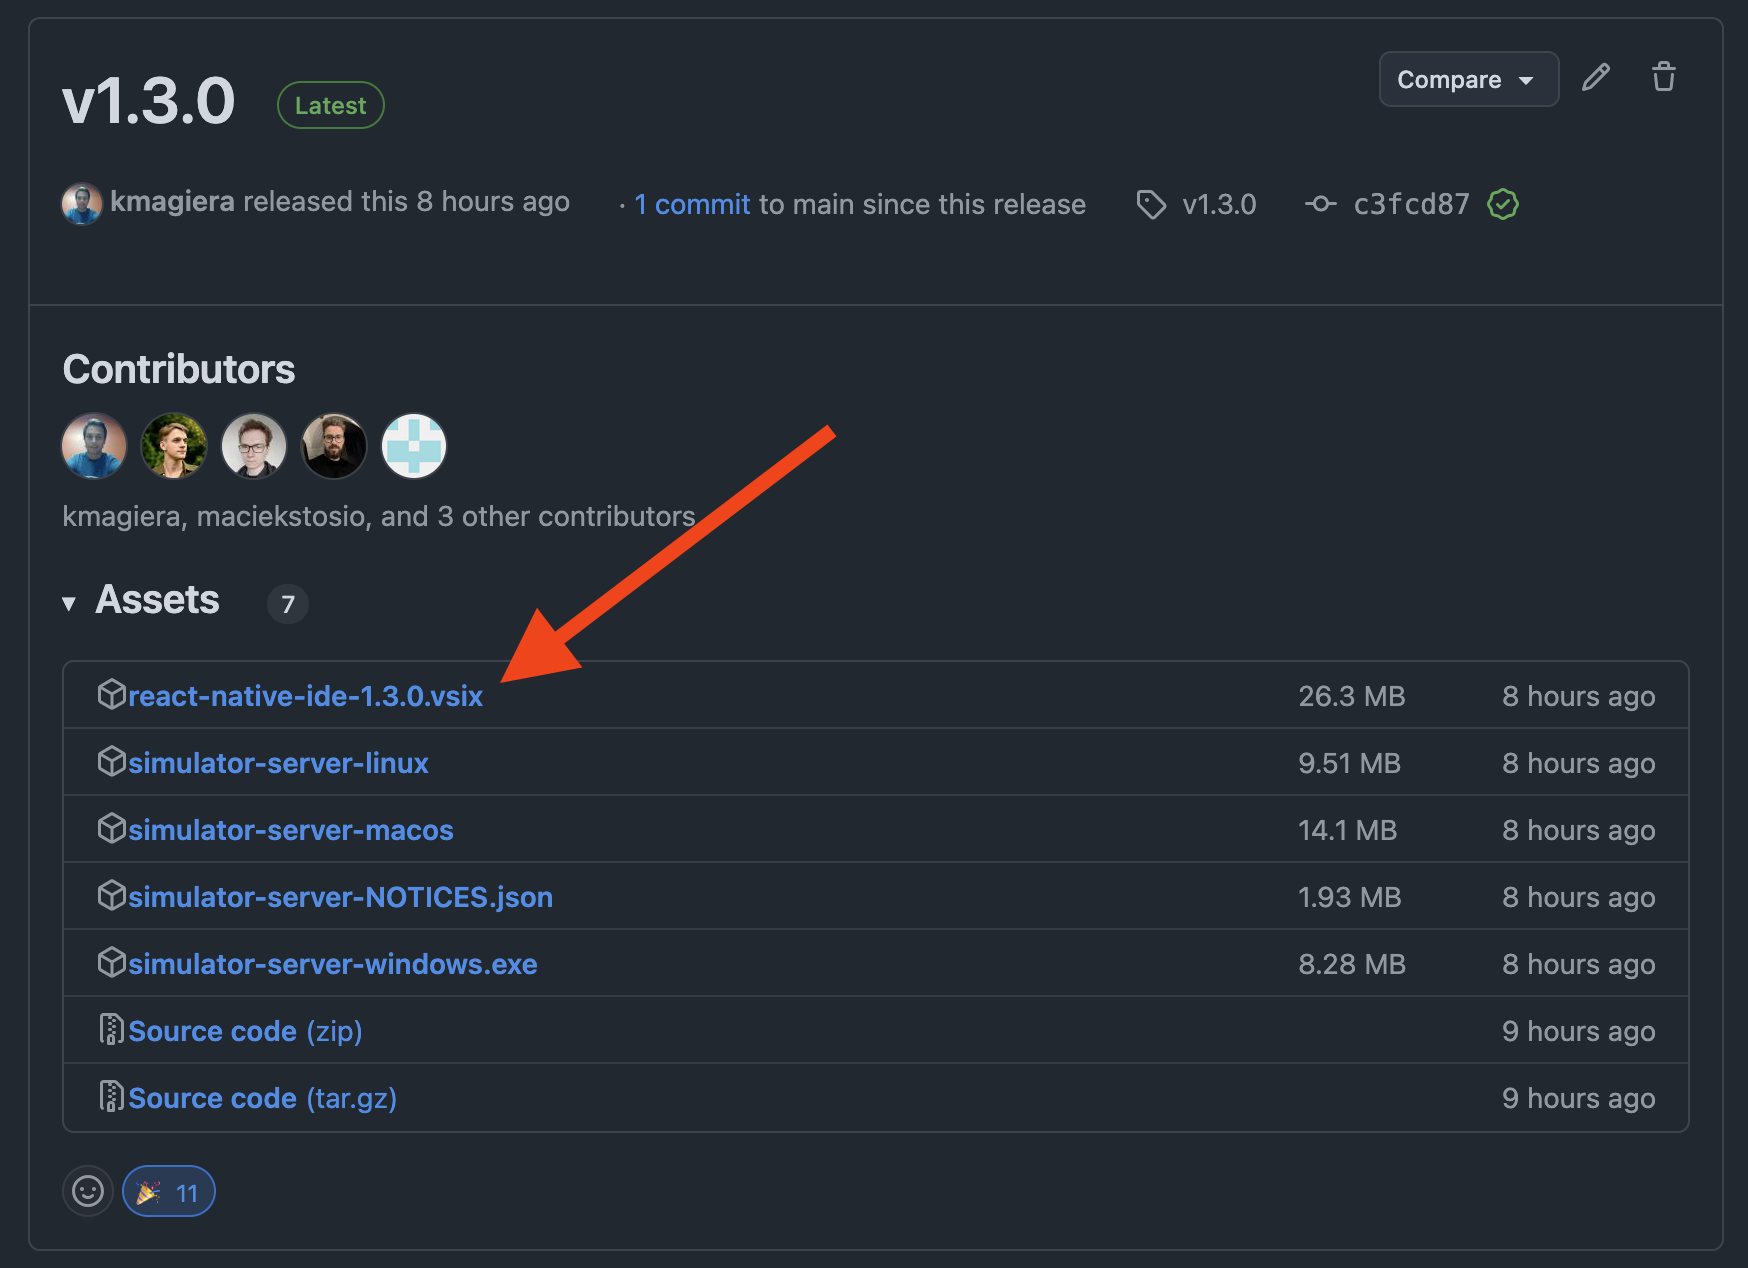
To install the extension from VSIX, first head to the releases page on GitHub and select the most recent release.
From the "Assets" section, download the .vsix file:
In order to install Radon IDE extension, you need to drag and drop the VSIX file onto the extension panel in VSCode/Cursor/Windsurf: