Launching the Panel
Once installed, Radon IDE provides two main modes of operation. You can either use the Panel Mode (documented on this page), or use Connect Mode:
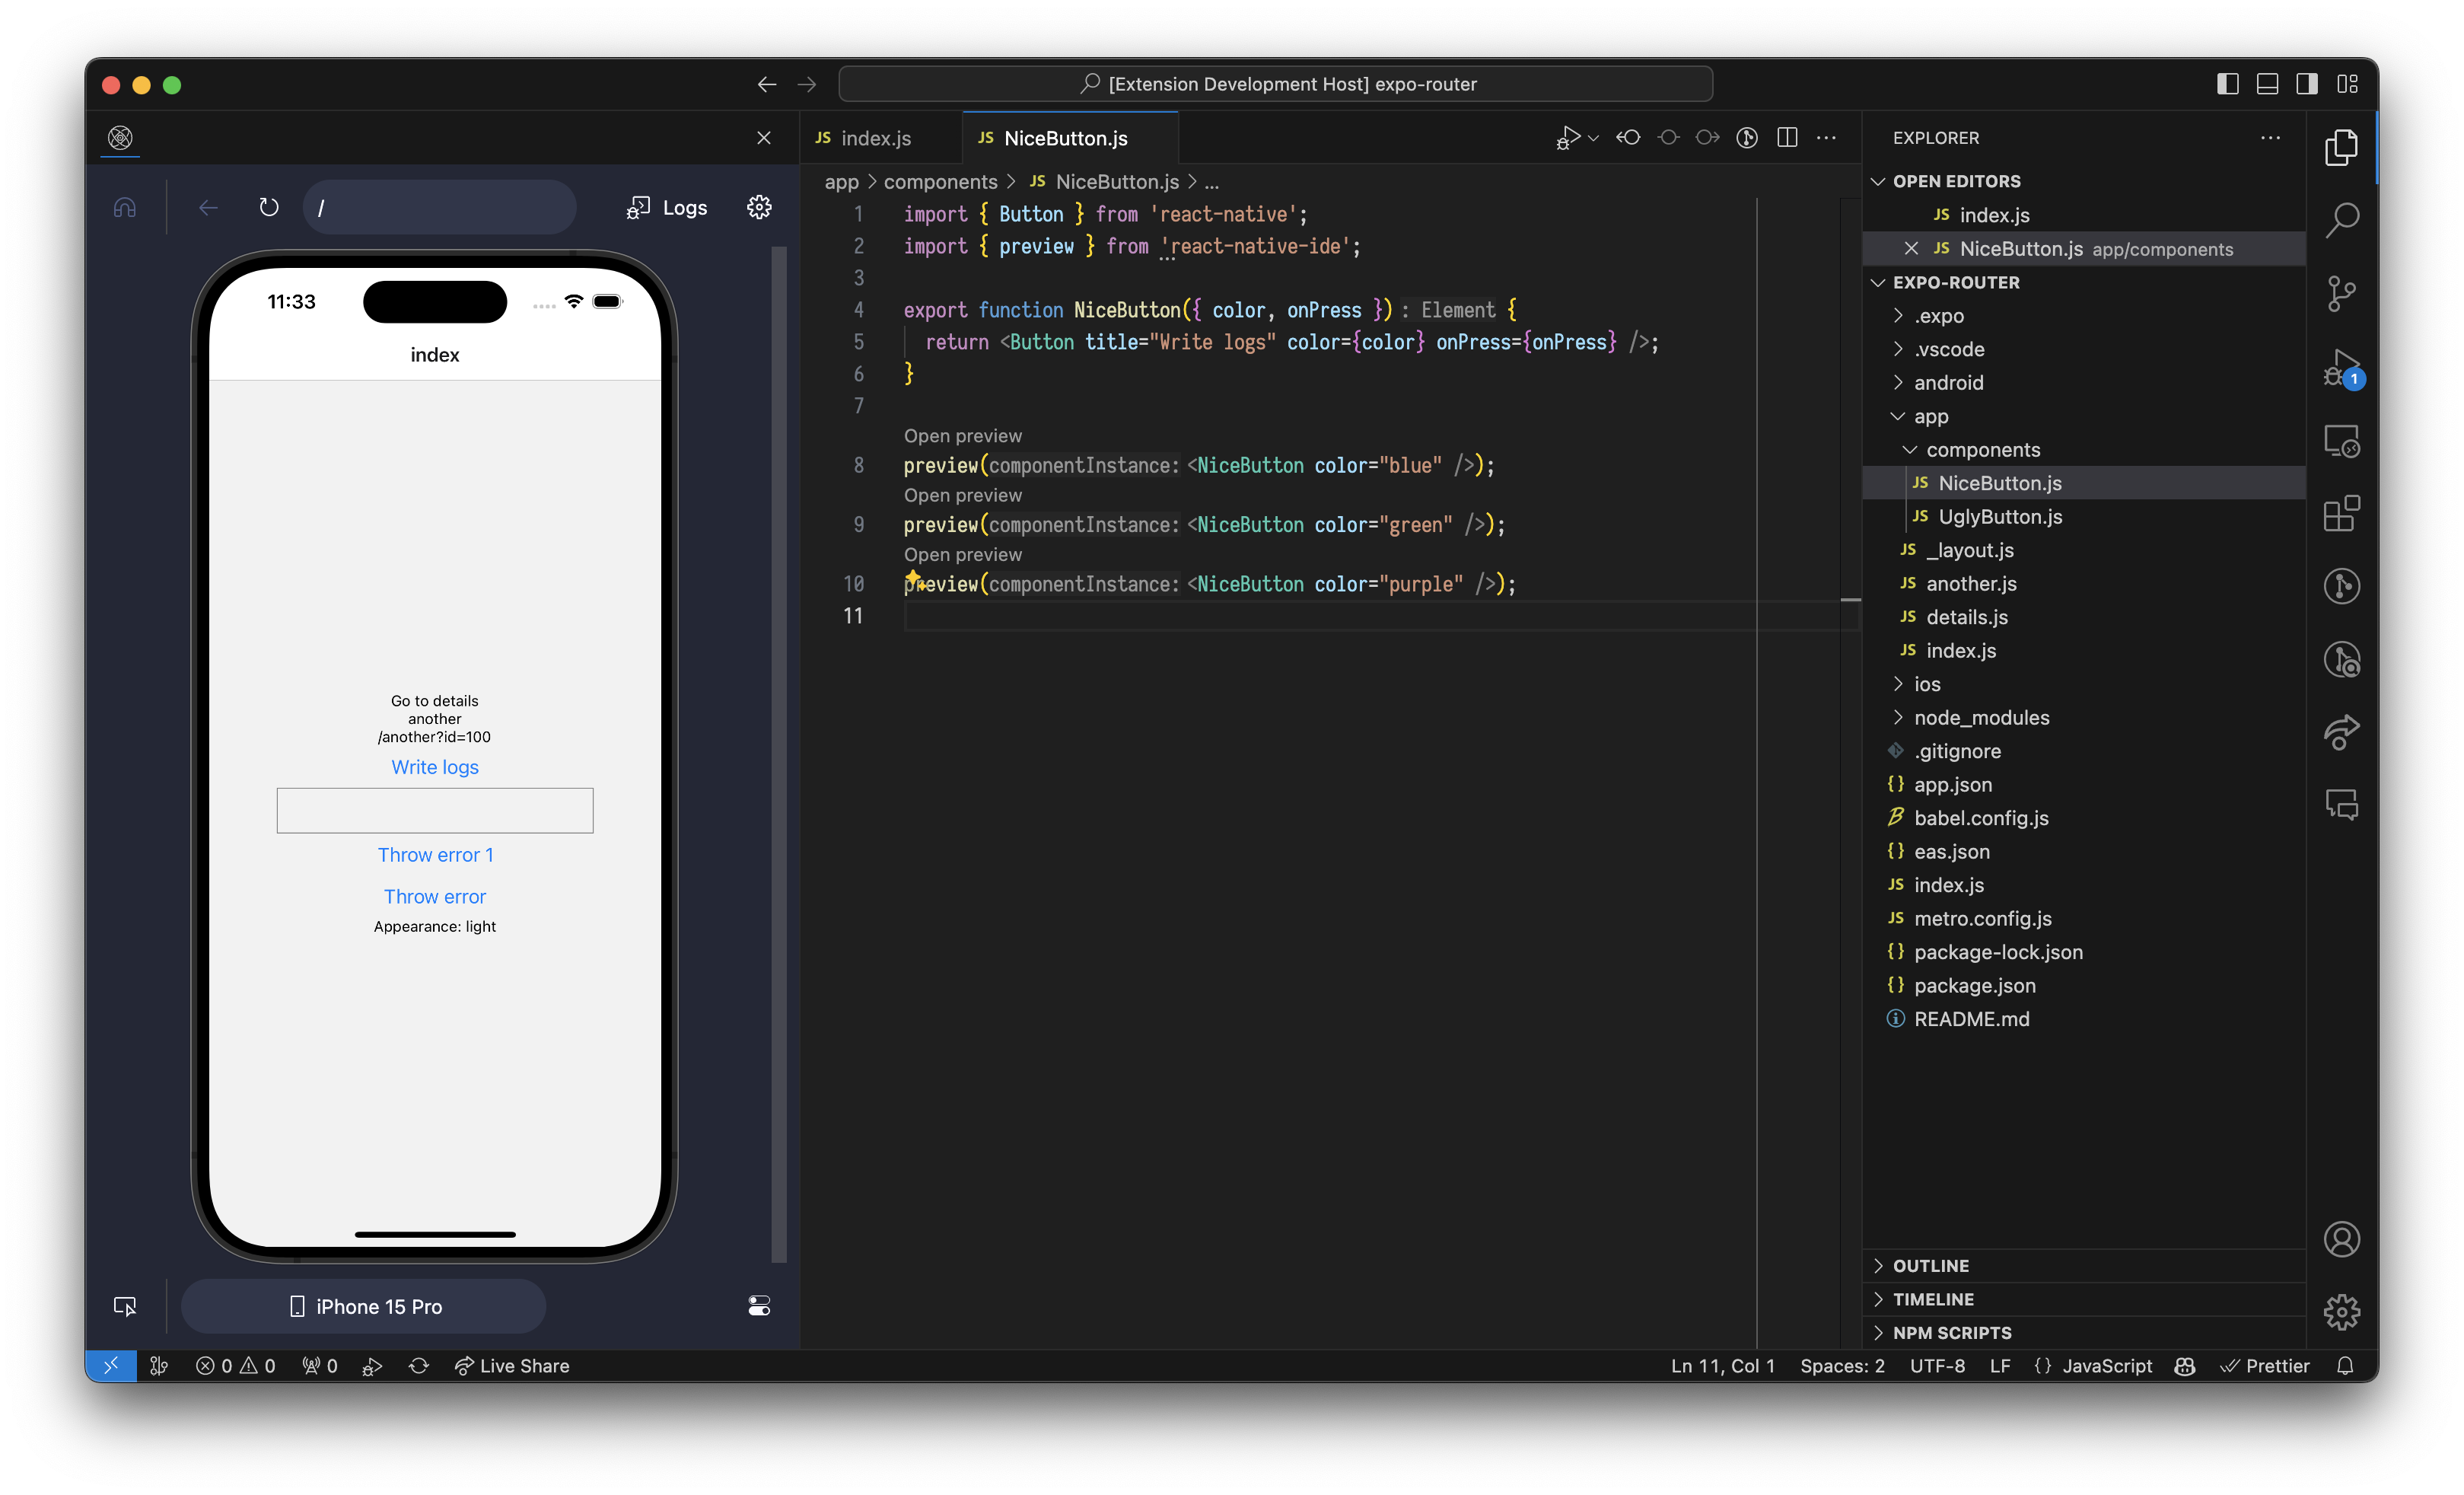
- Panel Mode is considered the main mode for Radon. It allows for the simulator/emulator preview to be embedded into the editor panel and provides the best integration with the editor. You don't need to use terminal to launch the React Native or Expo dev server and all the simulator/emulator settings are controlled in the editor panel. Panel mode is however limited to running your app on Android emulator or iOS simulator.
- Connect Mode – allows you to connect to your existing React Native setup. You need to run the React Native / Expo development server (Metro) and start your own connected simulator, or run the app on physical device. Currently Connect Mode has a limited feature set supporting only Debugging and logging.
After installing the extension, you should be able to start using it by opening your React Native or Expo project as a workspace in Visual Studio Code. If that's not the case and you have problems getting the extension to run, please check troubleshooting guide.
For a quick overview of the features the IDE provides, you can check Radon IDE website.
1. Open your project in vscode and start the extension panel
If your project setup is supported, you don't need any extra configuration to get the project running.
The only thing you need to do is open your React Native or Expo project as a workspace in VSCode (using File > Open Folder... option or code <path to project's folder> from the terminal).
Once you have it open, you can start the extension panel in one of a few ways:
- When you open any file of your project to edit it, you can launch the extension from
Radon IDEbutton in the editor's Status Bar: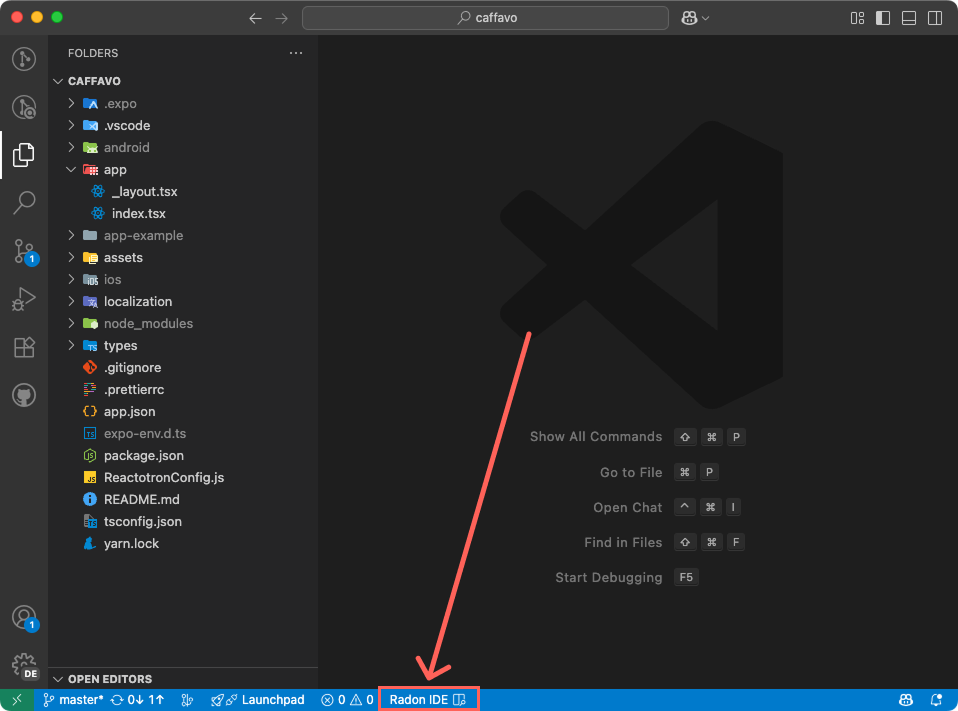
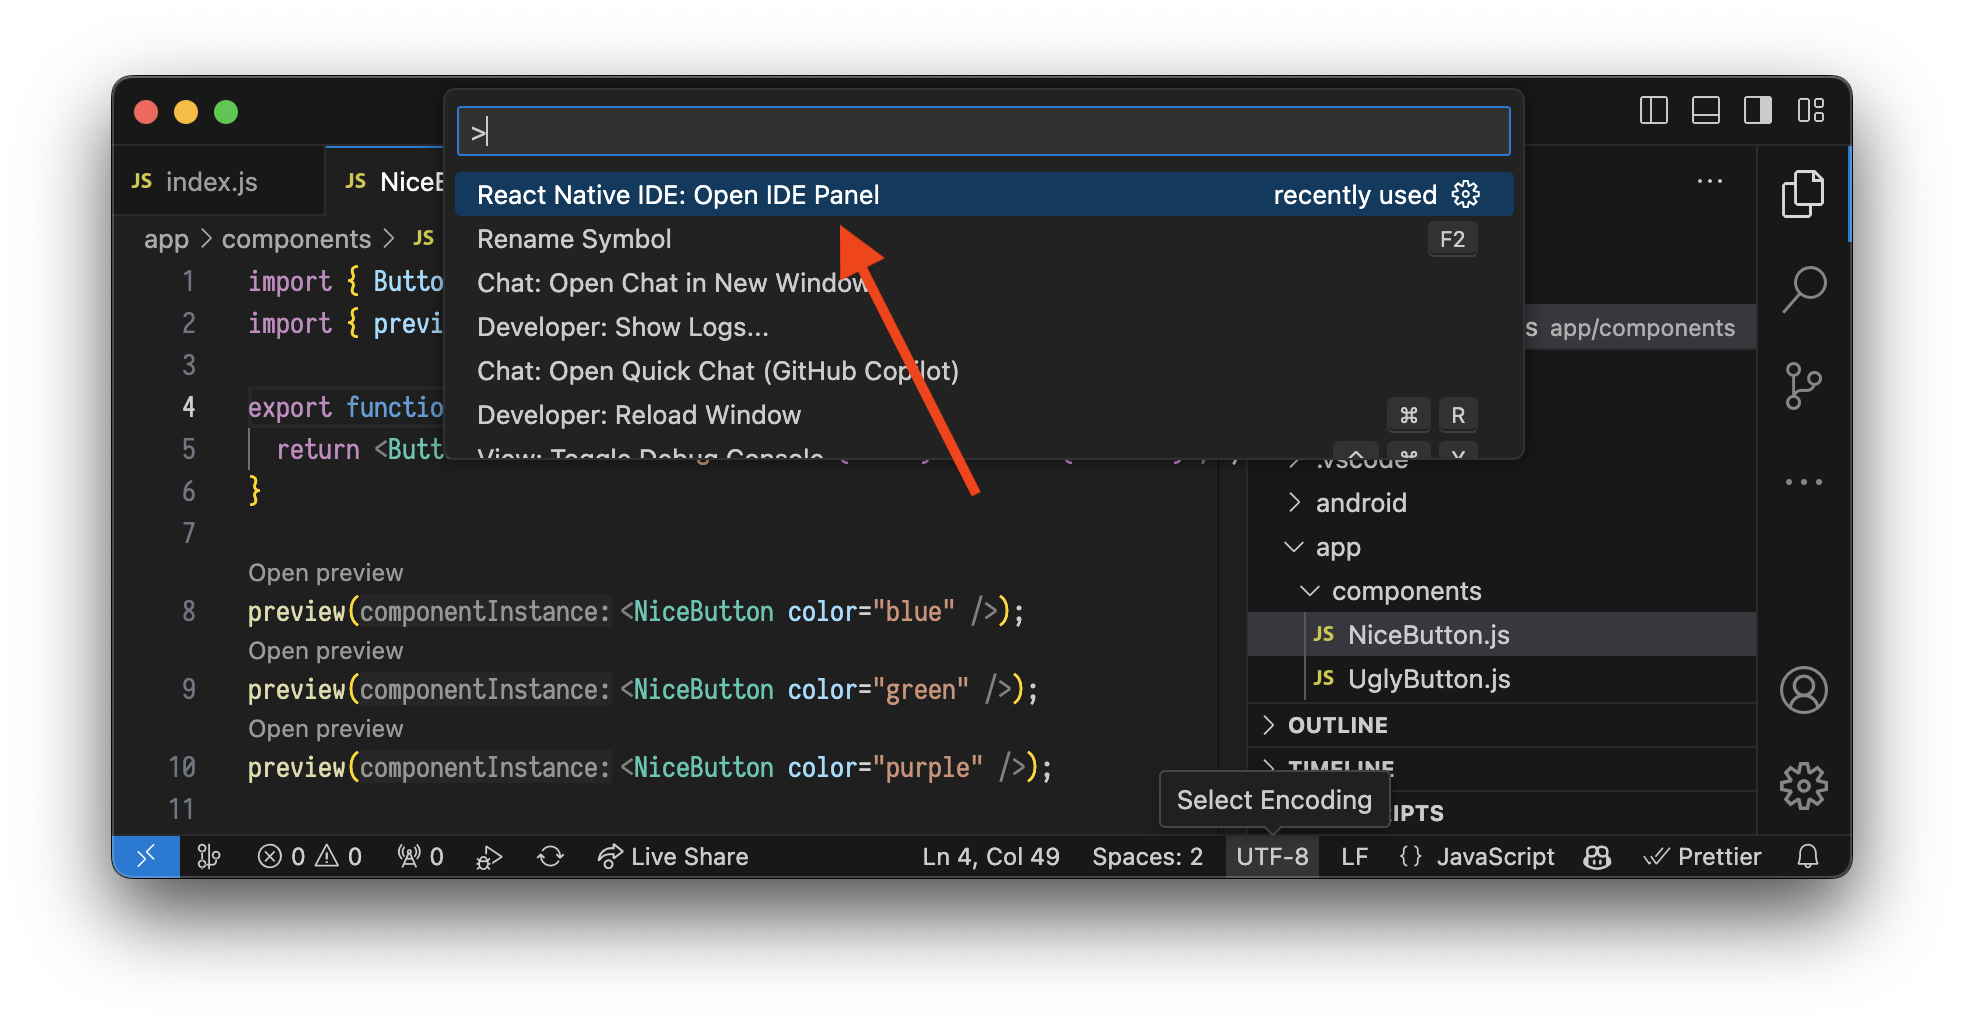
- You can use "Radon IDE: Open IDE Panel" available in vscode's command palette:
- If you already had the panel open in this project before restarting the editor, it will automatically reopen in the same place.
2. Create simulator and emulator instances on the first run
When you open the IDE panel for the first time, it'll ask you to configure Android emulator or iOS simulator. Depending on which platform you want to run your app on first, click one of the options available at the initial screen:
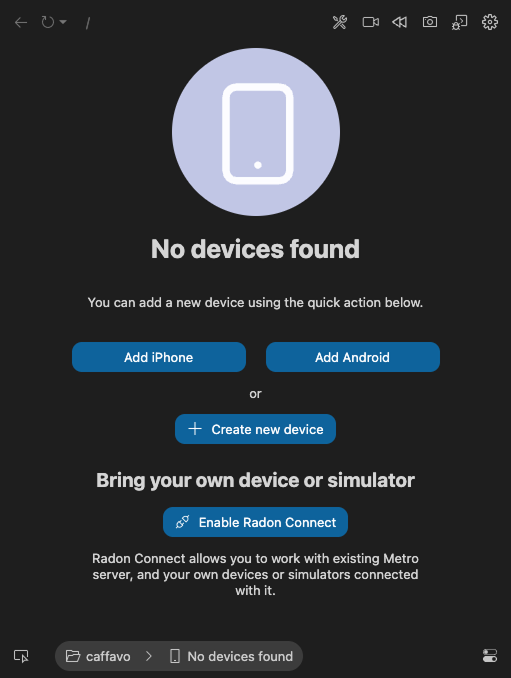
You will be able to add or remove simulators later using the device menu in the left bottom corner of the panel.
In case the IDE cannot locate system images to use for the device, you will see an empty list when creating new emulator or simulator. Please follow the simulators section to learn how to manage system versions of Android emulators or iOS simulators that the IDE can use.
Run on a physical device
You may also run your application on a physical Android device or use Radon Connect to connect to an application that's already running on an external device.
3. Decide on the location of the IDE panel
The main extension panel can be presented as one of the editor tabs (which is the default behavior), in a standalone editor window, or as a side panel (in primary or secondary side panel location). To change between these modes, you can either use Radon IDE section in the VSCode settings, or use the dropdown menu from the right top corner in the IDE panel:
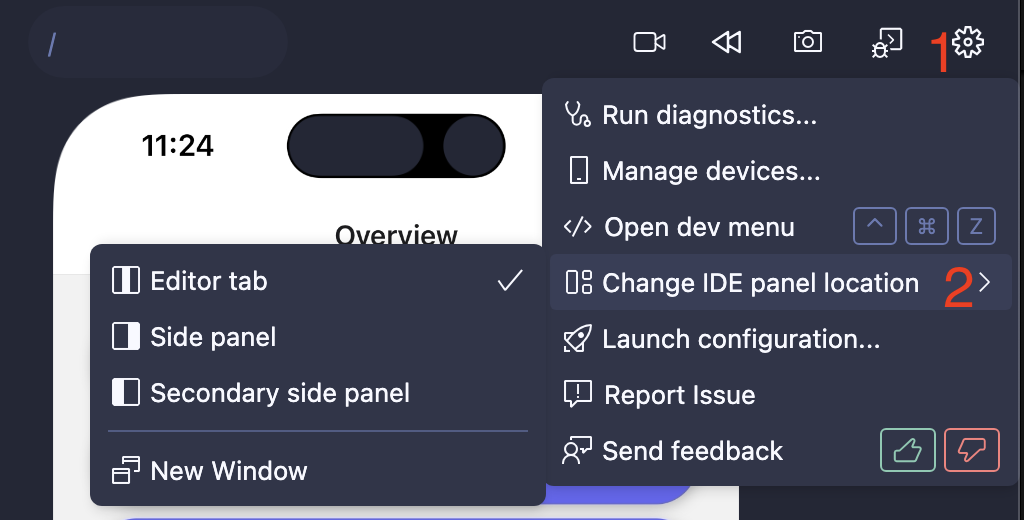
IMPORTANT: Due to window management limitations of the VSCode extension API, the IDE can only show option to move panel to a "New Window" when it is displaed as a editor tab. Similarily, there is no way to programmatically switch between primary and secondary side panels, so you need to position the IDE panel on your own by dragging it by its icon between side panel's tab bars.
Here is how the IDE would look like when place in the side panel:
4. Wait for the project to build and run
After all the above steps are completed, you should see your app building and launching in the extension device preview. From there, you can use the simulator normally to navigate in your app and try out the developer experience enhancements that the IDE provides.
5. Explore the features
Check out our Features page to learn how Radon can improve your development workflows.